


This tutorial will explain how to perform the initial setup in the AIO Class application.
To use the AIO Class application, some initial setups need to be done, such as creating an institution, setting the school year, inputting student names, and so on.
This initial setup is an important step to be able to use AIO Class. Some of the things that need to be done during the initial setup are:
- Create a school
- Create an school year
- Add teacher data
- Create attendance status data
- Add subjects data
- Add class list
- Add point categories
The initial setup only needs to be done by teachers (especially Admins), while students and parents do not need to do this. However, before proceeding to the setup stage, please register on the AIO Class mobile application.
This tutorial will guide you through the initial setup using the mobile application. You can also use the web-based application by accessing the page app.aioclass.com.
Adding School Data
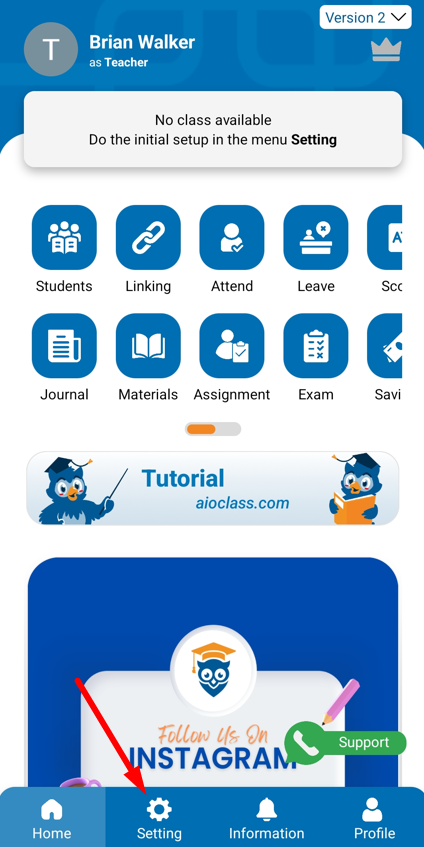
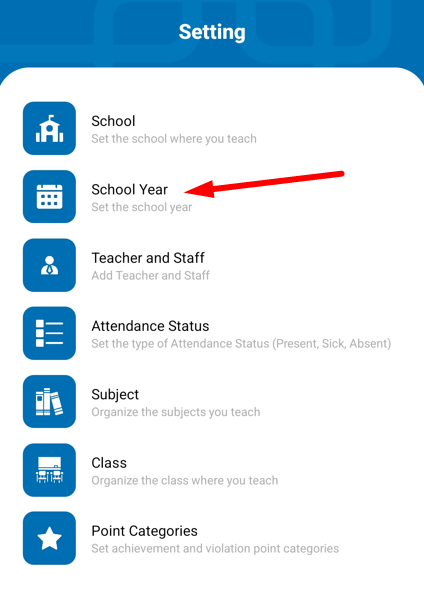
Adding school data is the process of adding the school where you teach. Here's how:- Log in as a teacher and go to the Setting menu.
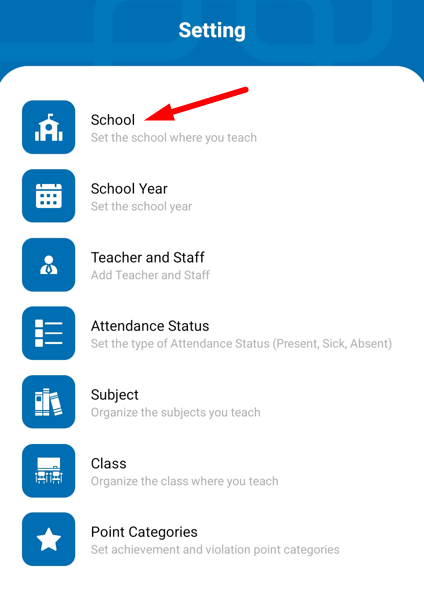
- Click the School menu.
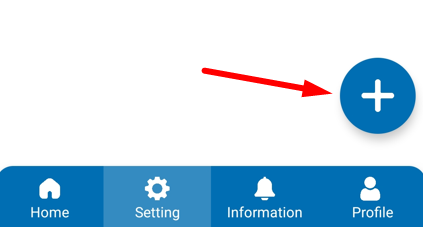
- Click the Add button.
- If the application asks for location access permission, allow it so the app can determine your school’s time zone.
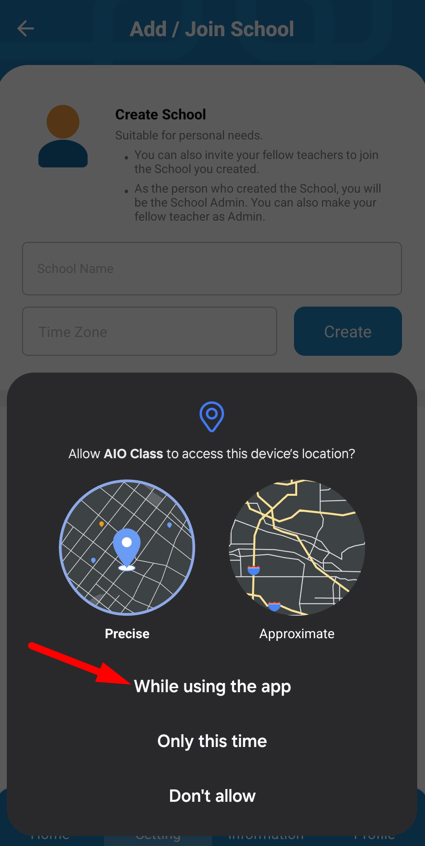
- On this page, you will see two options: Create School and Join to Existing School.
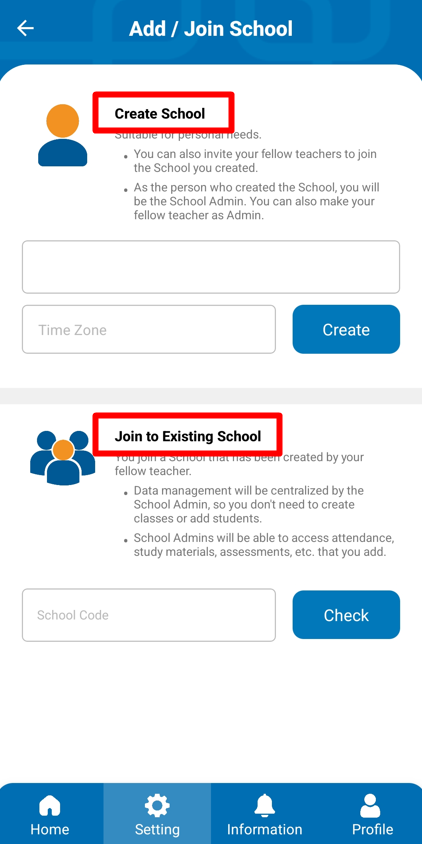
- The differences are:
- Create School: You create a new school. Choose this option if you want to use AIO Class personally. If you create the school data, you will become the admin of that school. If another teacher wants to join, you as the admin must approve their request. You can also assign other teachers as admins.
- Join to Existing School: Choose this option if you want to join a school that was already created by another teacher.
- In this example, we will select Create School.
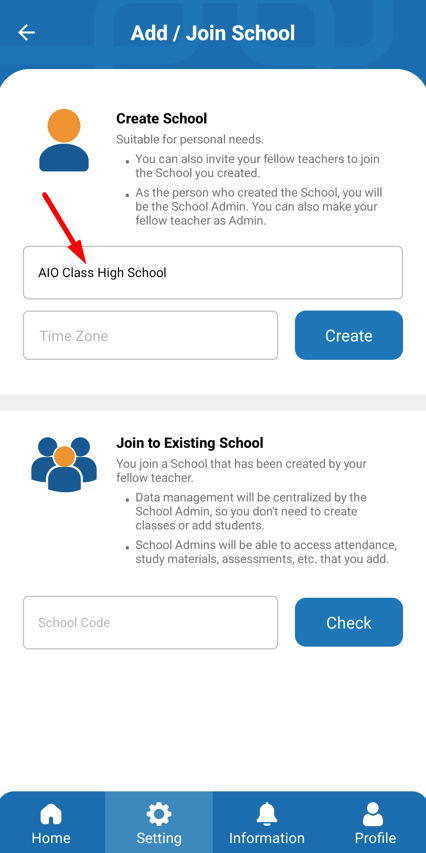
- In School Name, type the desired school name.
- Click on Time Zone, and wait until the map is fully loaded.
- Once the map appears, click Take Location. Then the Time Zone will show your time zone.
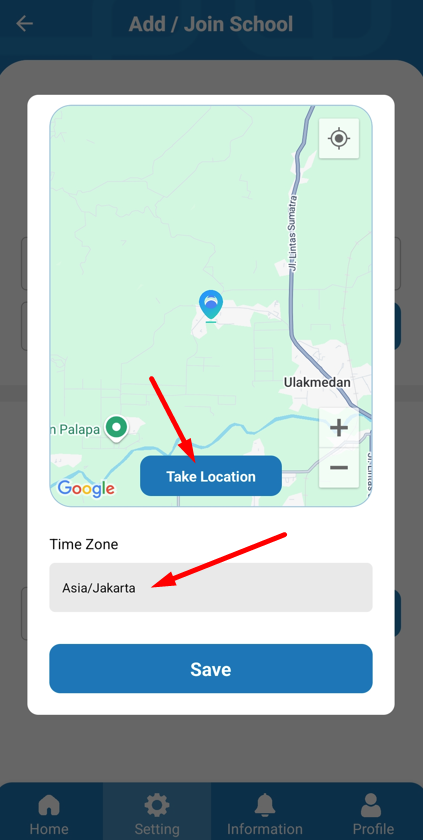
- Click Save.
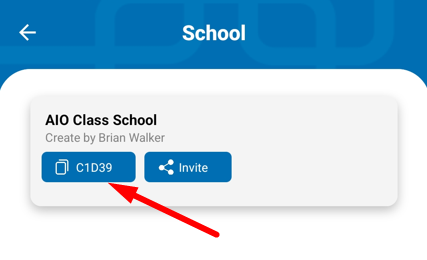
- Click Create. Your newly created school will appear.
- If you teach at more than one school, you can add multiple school entries.
- You will see a School Code. You can share this code with your fellow teachers who want to join the school.
- Later, if a teacher requests to join, as the one who created the school data, you must approve the request through the Linking menu.
Adding School Year Data
Adding school year data is necessary so that class data can be separated by year. For example, there is a class I-A. This class name will appear every year but with different students. To retain student data without deleting it, class data needs to be organized by school year. Here’s how:- Log in as a teacher and go to the Setting menu.
- Click the School Year menu.
- Click the Add button.
- Under School, choose the school name you entered, e.g., AIO School.
- In School Year, type the desired school year, e.g., 2025/2026.
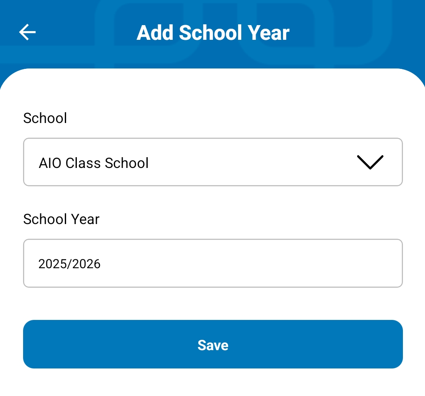
- Click Save.
Adding Teacher and Staff Data
If you're using AIO Class personally (not collaborating with other teachers), you can skip this step. But if you want to use AIO Class collaboratively with other teachers in your school, we will discuss how to add teacher and staff data in another tutorial, titled "Adding Teacher and Staff Data."Adding Attendance Status Data
Attendance status refers to statuses such as Present, Sick, Excused, and Absent. You can add attendance status entries as needed.- Log in as a teacher and go to the Setting menu.
- Click the Attendance Status menu.
- Click the Add button.
- Under School, choose the school name, e.g., AIO School.
- In Status Name, type the desired attendance status name, e.g., Presence.
- In Symbol, for example: P.
- You can add more statuses by clicking the Add Another button.
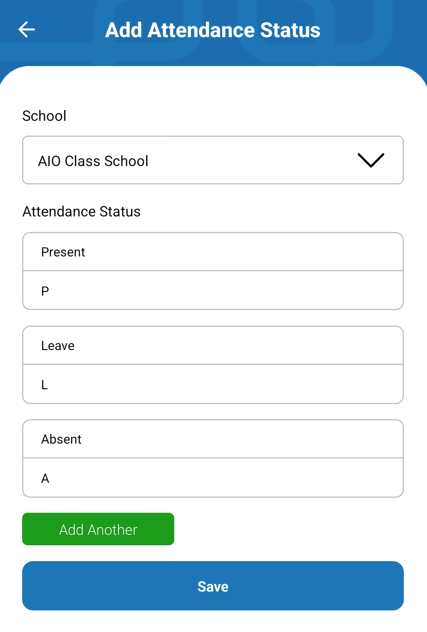
- Once done, click Save.
Adding Subject Data
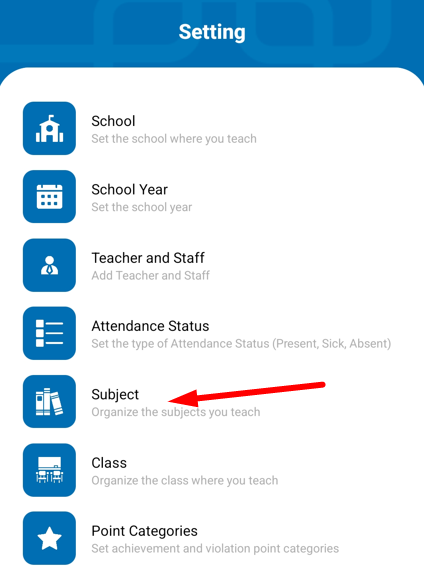
If you are using AIO Class personally, just add the subjects you teach. However, if used collaboratively, all school subjects should be added. Here's how:- Log in as a teacher and go to the Setting menu.
- Click the Subject menu.
- Click the Add button.
- Under School, choose the school name, e.g., AIO School.
- In Subject, type the subject name you want to add.
- Add more subjects by clicking Add Another.
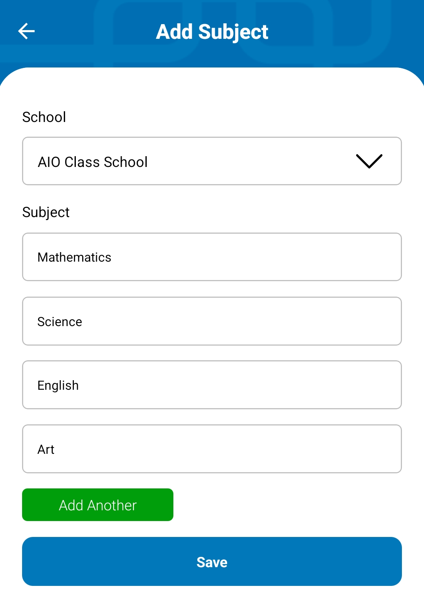
- Once done, click Save.
Adding Point Categories
Point categories are used in your school to manage both positive and violation points. For example: Positive Points:- On-time Attendance (+2)
- Top 3 Ranking (+5)
- Helping Struggling Friends (+2)
- And so on
- Late Arrival (-2)
- Cheating During Exams (-5)
- Bullying (-10)
- And so on
- Log in as a teacher and go to the Setting menu.
- Click the Point Categories menu.

- Click the Add button.
- Under School, choose the school name, e.g., AIO School.
- In Type, choose Positive or Violation.
- In Category Name, type the category name, e.g., Punctual Attendance.
- In Point Value, enter the point value, e.g., +2.
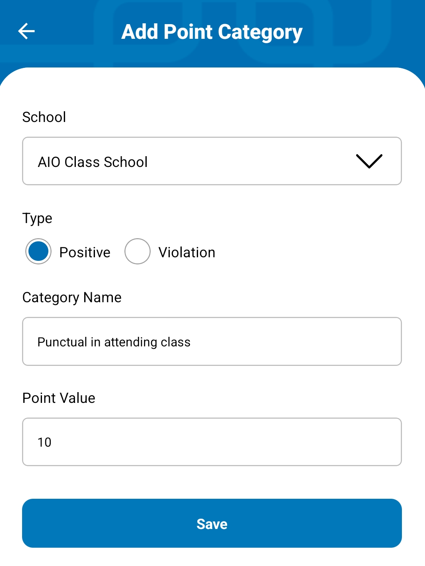
- Once done, click Save.
- Repeat the same steps for the Violation category.

- Enter all point categories that apply in your school.